


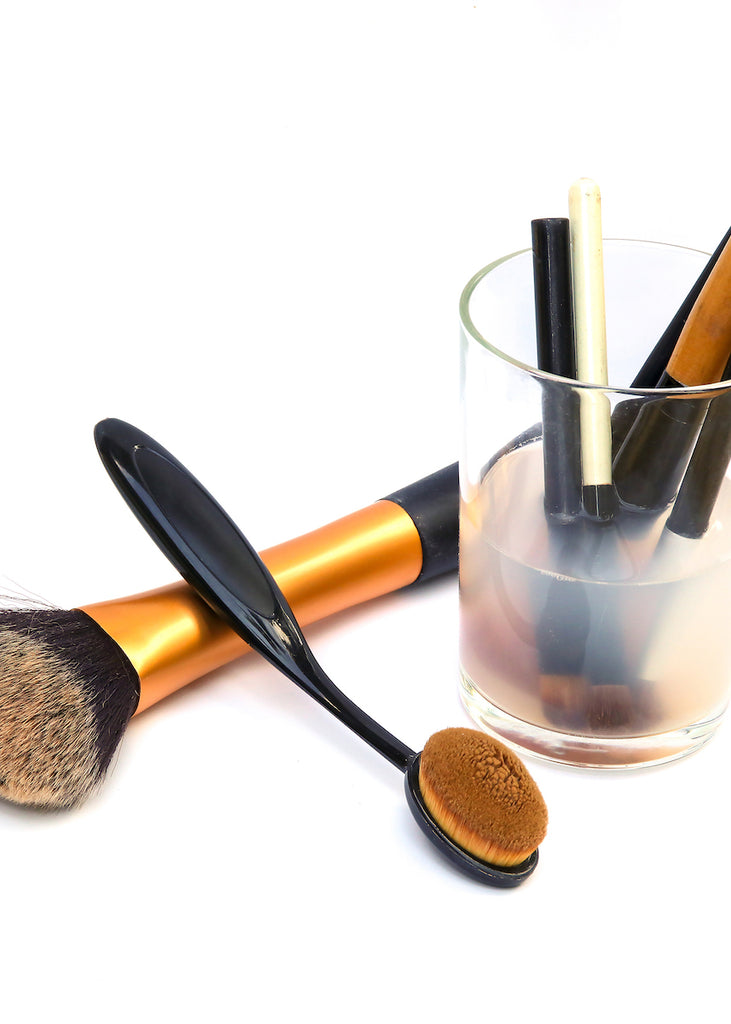
It’s easy to overlook your makeup brushes, but doing so is a big mistake. Your makeup brushes make contact with your skin every day (and, in the case of foundation brushes, they’re buffed directly on to the pores), so if they’re contaminated with bacteria, it can mean breakouts, whiteheads and irritated skin.
Bacteria can get on your makeup brushes in a multitude of ways. Makeup brushes are generally full of old makeup, which can be sticky and cakey. The brushes then move across the skin, which has a certain amount of natural oil and bacteria on it to begin with. Add all of this to the fact that makeup brushes are often stored in bathrooms and under kitchen sinks, and you’ve got a recipe for disaster.
It’s a good idea to clean your makeup brushes at least once a week. When you do clean them, there are a few tips and best practices to keep in mind.

A Step-by-Step Guide to Washing Your Makeup Brushes
Soak in Warm Water
The first step to cleaning your makeup brushes is soaking them in very warm water. While you don’t want the water to be boiling (that could ruin the bristles of your brush), a good warm bath temperature will help to break up any makeup and also begins to kill bacteria. Allow your brushes to soak in the water for at least 15 minutes.
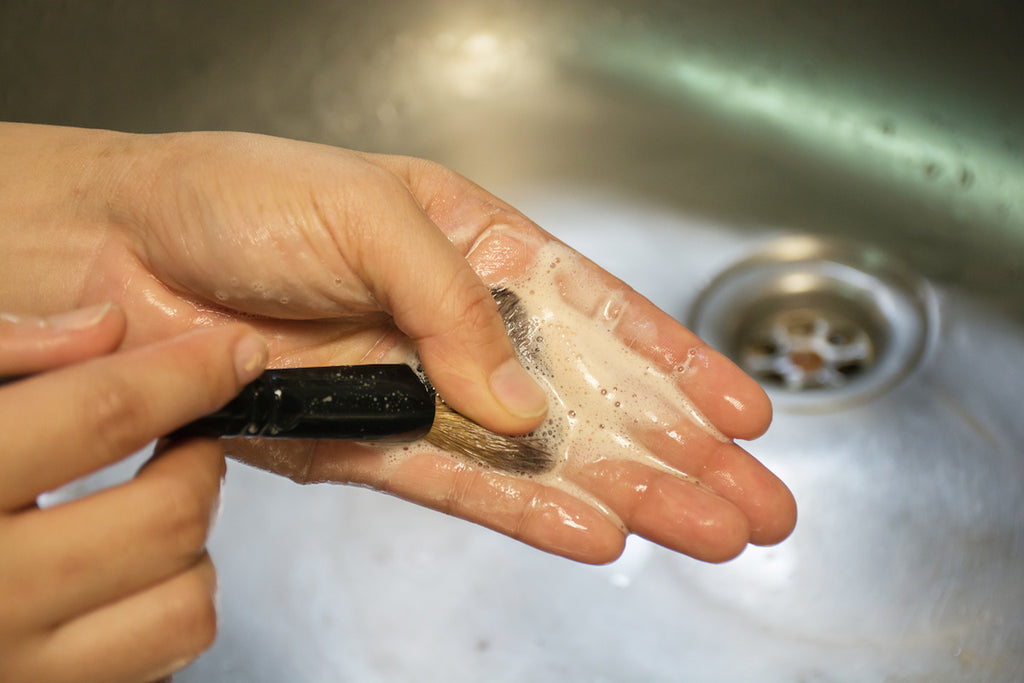
Wash with a Gentle Cleanser
Now, select a gentle cleanser with which to clean your brushes. Many makeup brushes are made from real hair, so you don’t want to use anything that would be too harsh to use on your own hair. Additionally, steer clear of anything with a fragrance; it will likely linger on your brushes and may irritate your skin later. Two good options are unscented shampoo and your daily facial cleanser. If your shampoo and cleanser are too pricey to waste on brush cleaning, pick up an unscented facial cleanser from your local drugstore.
Wash the brushes by covering the bristles with a few drops of soap and then manually washing them with your hands under running warm water. Repeat this process at least three or four times, until you notice that the stream of pigment running from your brush has greatly decreased. It’s worth noting that the water will probably never run completely clear — makeup residue is tough to remove completely. But it should be clear enough that you feel confident you’ve removed much of the makeup.
Dab with a Cloth
Next, take a clean towel or cloth and dab the brush until it’s mostly dry. Avoid displacing the bristles too much; once a makeup brush loses its shape, it’s difficult to get it back.
Reshape and Air Dry
Finally, reshape your bristles if they’ve been spayed or misplaced, and lay the brush on a desk or table. Avoid drying the brush in your bathroom, as bacteria in the air can get into the wet bristles. Give the brush at least eight to 10 hours to dry. By letting it sit out overnight, you’ll ensure it’s ready to use the following day.