

A great manicure from the nail salon can leave you feeling like a million bucks, but over time, this form of self-care can also become pricey. Sometimes an at-home manicure can do the trick. But where would you even start? Take these six steps.
1. File & Buffer
Start by filing your polish-free nails to the shape you want, whether it be square, round or oval. Start by filing your nail in one fluid motion from side to center (avoid harsh metal filers). It is recommended you do this with each individual nail rather than all nails at once. After filing, consider following up with a buffer. This will make your nails shiny, smooth and ready for polish.
2. Exfoliate
Exfoliate to shed dead skin for silky smooth fingers and hands. You can do this by using a small dry brush or an all-natural brown sugar scrub. If using a dry brush to exfoliate your hands, make sure not to scrub too hard over your cuticles. Your cuticles protect your nail bed from infection, so keeping them intact is important.
Once done exfoliating, make it a point to push back your cuticles. This will help the skin from splitting or even worse, turning into a hang nail.
3. Moisturize
Once done exfoliating, moisturize your hands. This is often an afterthought once the manicure is complete but doing this before you polish will help you avoid smudging your nails. Wait for your hands to be completely dry before putting on your polish.
4. Polish
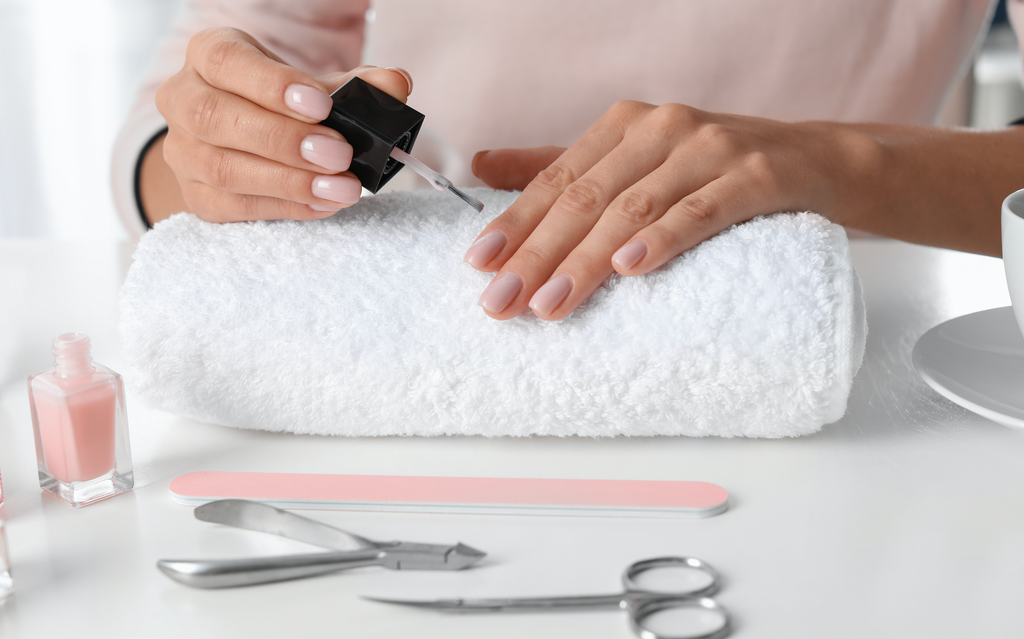
Before applying your polish, set up your station in advance. You will want to do this in a well-lit area or a space with natural light. Good lighting will help you spot and fix any imperfections along the way. Roll the polish back and forth between your hands to mix up the color (this helps prevent air bubbles). Then unscrew the caps of the color you are going to use, along with the clear topcoat. This will make it much easier than trying to open bottles with wet nails.
When applying your polish, paint evenly in thin layers. When removing the brush from the bottle, wipe one side of the brush on the bottle to get a thin layer of polish. On your nail, start with a swipe down the middle, then the left and right. Repeat for each nail, then add two more layers following this same technique.
Does polish stain your nails or leave them looking discolored once the polish is removed? Consider applying a thin layer of clear polish on your nails first to prevent the polish from staining your nails.
Related Articles
5. Topcoat
Add a clear or gel topcoat for extra shine. This will also help prevent your polish from chipping. Once complete, be mindful about what you do for the next couple hours to avoid damage to your beautiful new nails. (Being strategic about when you paint your nails is important, too!) Reapplying your topcoat every couple of days will help extend the life of your at-home manicure.
6. Clean Up
A trick for easy clean-up is putting Vaseline around the skin surrounding your nails. If you happen to get polish on your skin, it will wipe off with the Vaseline. You can also do this with a Q-tip and nail polish remover or a folded cotton nail polish remover pad. Want to take it up a step? Use an angled brunch dipped in acetone or nail polish remover to clean it up like a pro.